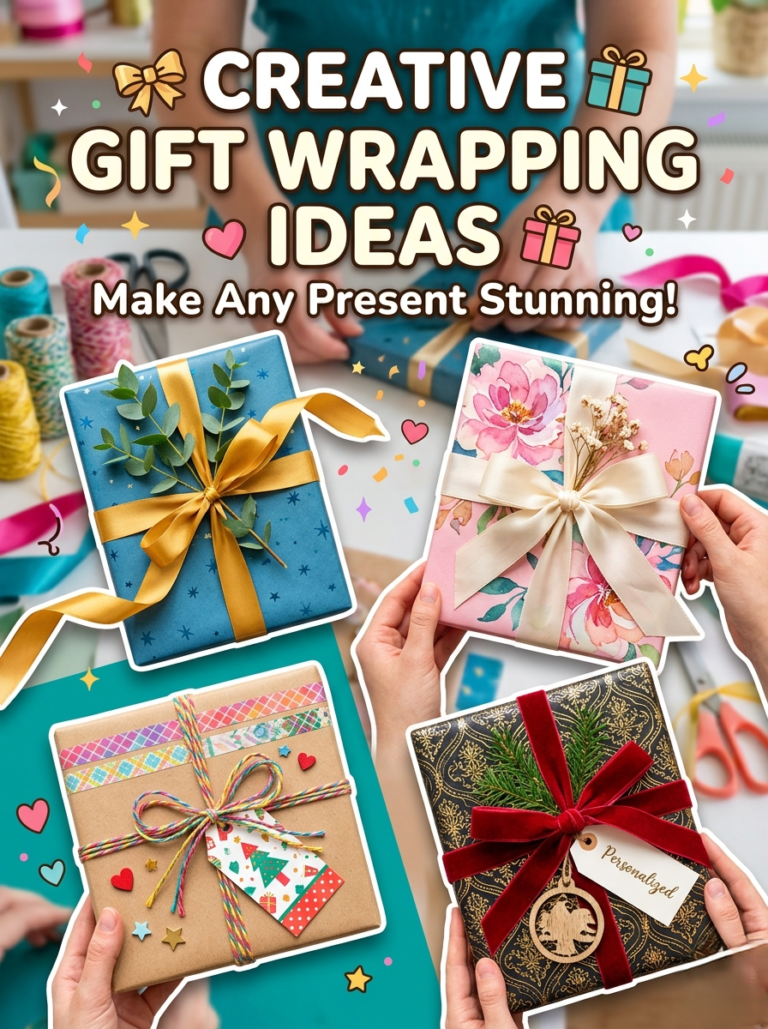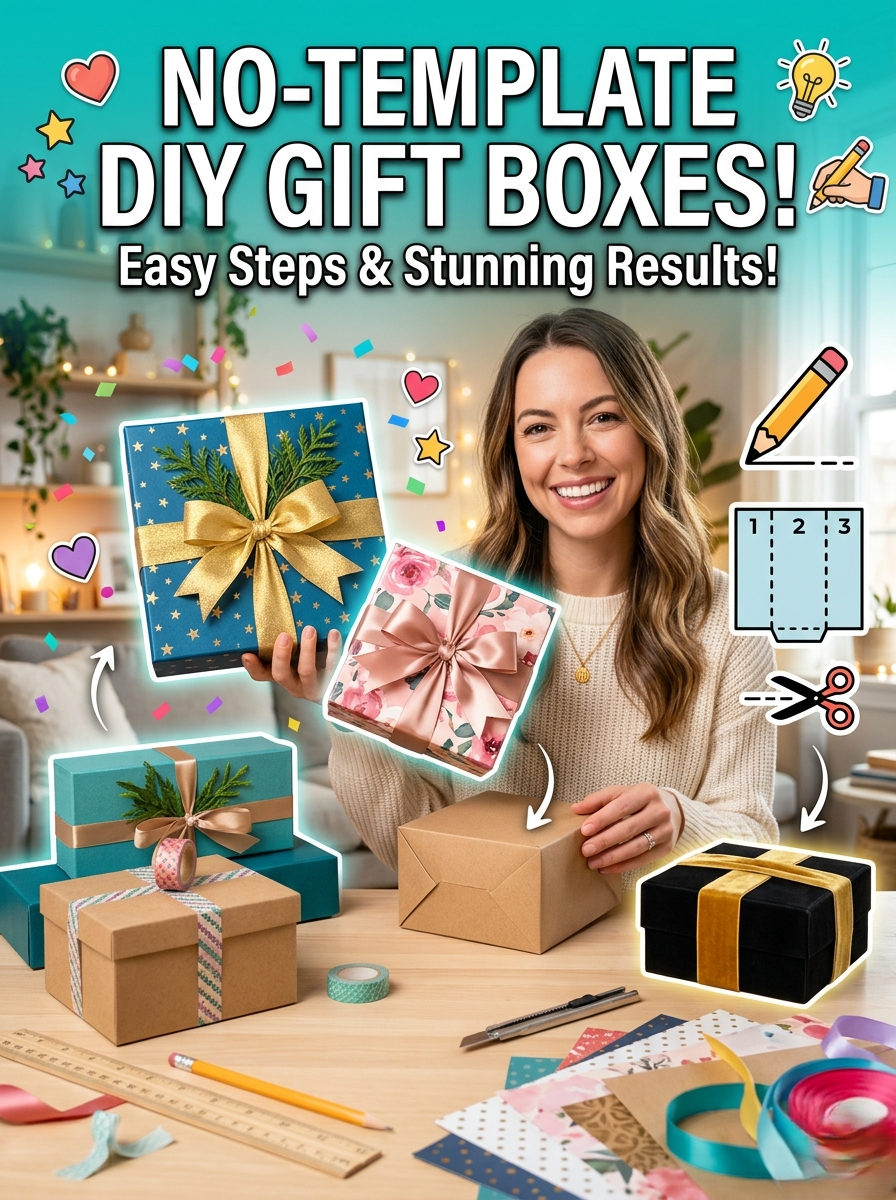

How to Make a DIY Gift Box Without a Template (Step-by-Step)
Need a perfectly sized box right now — but don’t have one on hand? This guide shows you exactly how to make a DIY gift box from a single square sheet of paper in under five minutes. No template, no printer, no scissors required.
Once you learn this origami-style folding method, you can make a custom-sized paper gift box for any gift — jewellery, soaps, baked goods, small electronics — simply by adjusting the size of your starting square. It is the most useful gift-wrapping skill you will ever pick up.
Quick Answer
To make a DIY gift box without a template: start with a square sheet of cardstock, fold diagonally and horizontally to create a crease grid, fold all four corners to the center, crease the edges inward, raise two walls to 90°, then fold the remaining flaps over and down to lock the box. The finished box is roughly one-third the width of your starting square. Full step-by-step instructions with photos are below.
Why Make Your Own Gift Box?
There is something genuinely special about handmade gift packaging. When you craft the container yourself, the recipient knows extra thought went into the gift before they have even opened it.
Practically speaking, it also solves the perennial problem of the oddly-sized item with no matching box. By choosing your starting square, you control every dimension. It is also eco-friendly — old calendars, scrapbooking offcuts, and heavyweight wrapping paper all work perfectly.
What You Need
You need very little to get started. Here is the full materials list:
- Two square sheets of paper or cardstock — one for the base, one for the lid. 65 lb scrapbook paper is the recommended choice (see paper test below).
- Ruler — to confirm your starting square is perfectly even. An uneven square produces a lopsided box.
- Scissors or a paper trimmer — only needed if your sheet is not already square.
- Bone folder (strongly recommended) — creates sharper, cleaner creases and makes folding much easier, especially on heavier cardstock.
- Glue or double-sided tape (optional) — the origami lock holds without adhesive, but a small dot of glue on the base corners adds extra security for heavier items.
Best Paper to Use — Tested Across 3 Types
Choosing the right material is the single most important decision before you begin.
| Paper Type | Weight | Result | Verdict |
|---|---|---|---|
| Standard printer paper | 20 lb | Sides bow outward; can’t hold weight | Practice only |
| Scrapbook paper | 65 lb | Clean folds, holds shape perfectly, beautiful patterns | ✦ Best choice |
| Heavy cardstock | 110 lb+ | Very sturdy; bulky corners; requires bone folder | Professional finish, more effort |
How to Make a DIY Gift Box: 15 Steps
Follow these steps carefully. Crisp, firm creases are the single most important factor — they are what make the box snap into shape cleanly at the end. Run your fingernail or a bone folder firmly along every fold before you unfold it.
Part 1: Preparing the Crease Grid (Steps 1–5)
These five folds create the invisible grid that guides every fold that follows. Do not skip or rush them.
- Place your square paper pattern-side down on a flat, hard surface.
- Fold diagonally, corner to corner, to form a triangle. Press the fold firmly from the center outward. Unfold.
- Fold diagonally the other way. Crease and unfold. You now have an X through the center of the paper.
- Fold in half horizontally (top edge meets bottom edge). Crease and unfold.
- Fold in half vertically (left edge meets right edge). Crease and unfold. Your paper now shows both an X and a + meeting at the exact center point.
Part 2: Forming the Base Shape (Steps 6–11)
- Fold all four corners into the center point where your creases intersect. Your paper should now look like a smaller square — this is called a blintz fold in origami.
- Fold the top edge down to the center line. Crease firmly.
- Fold the bottom edge up to the center line. Crease firmly.
- Unfold the top and bottom edges you just creased.
- Fold the left edge to the center line, then fold the right edge to the center line. Crease both firmly.
- Unfold the left and right edges. You will now see a neat grid of smaller squares across your entire sheet.
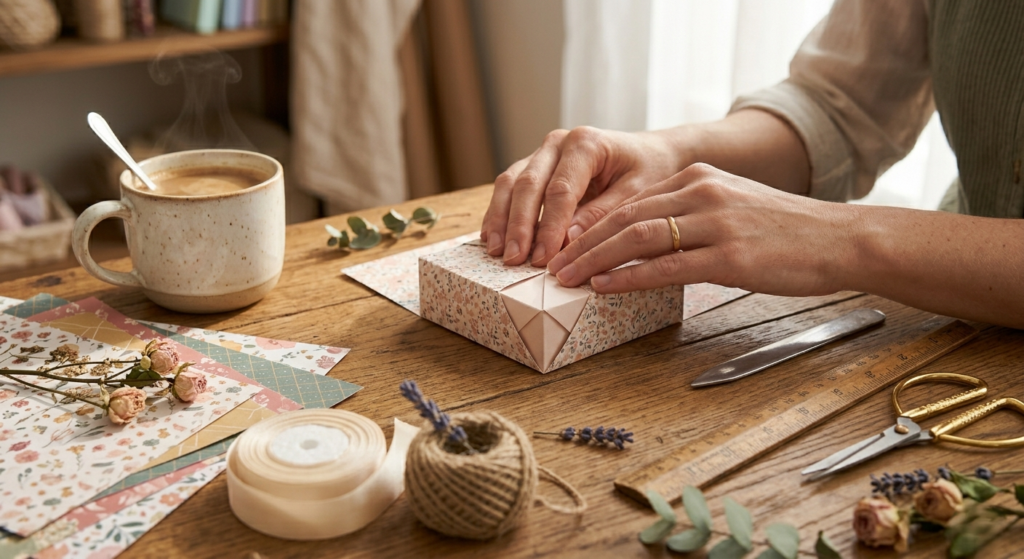
Part 3: Assembling the Box (Steps 12–15)
- Unfold the top and bottom triangular corner flaps entirely, leaving only the left and right side panels folded into the center.
- Refold the left and right edges into the center crease. These two panels are your first pair of box walls. Lift them up so they stand at a 90-degree angle to the table.
- Take the top unfolded section. Using the diagonal crease marks at the top corners as guides, lift the paper up and guide the side edges inward so they fold against your standing walls. The pointed top flap will naturally swing up and over the top edge of the wall — fold it flat down into the inside base of the box.
- Repeat step 14 on the bottom section. The pointed tips of all four original corners will now meet in the center of the box floor, locking the structure together. Your box is complete.
 The finished base after step 15 — four corners locked in the center, no glue required.[/caption>
How to Make the Lid
The lid uses the exact same 15 steps as the base, with one small but critical adjustment. If you fold the lid exactly like the base, it will be identical in size and will not slide on.
The fix: In steps 7, 8, and 10 — when you fold the edges toward the center — leave a small gap of about 1/8 inch (2–3 mm) between the paper’s edge and the center crease. Do not fold all the way to the line. This tiny adjustment makes the lid’s internal square fractionally wider than the base, so it fits over it perfectly.
Alternative method: Cut your lid square 1/4 inch larger than your base square, then follow all 15 steps identically. This is the more reliable method if you find the gap adjustment tricky.
Size Guide: What Starting Paper Size Do You Need?
The finished box is approximately one-third the width of your starting square. Use this table to choose the right sheet size before you begin:
| Starting Paper Size | Finished Box Size (approx.) | Best For |
|---|---|---|
| 6″ × 6″ | 2″ × 2″ × 1″ | Rings, small earrings, a single truffle |
| 8″ × 8″ | 2.6″ × 2.6″ × 1.3″ | Necklaces, lip balm, keychains |
| 10″ × 10″ | 3.3″ × 3.3″ × 1.6″ | Watches, small cosmetics, gift cards |
| 12″ × 12″ (standard scrapbook) | 4″ × 4″ × 2″ | Small mugs, artisan soaps, rolled ties, folded socks |
| 15″ × 15″ | 5″ × 5″ × 2.5″ | Small electronics, baked goods, rolled t-shirts |
How to Decorate Your DIY Gift Box
The structural box is finished — now make it look intentional. These five decoration ideas range from 30-second finishes to full presentation pieces:
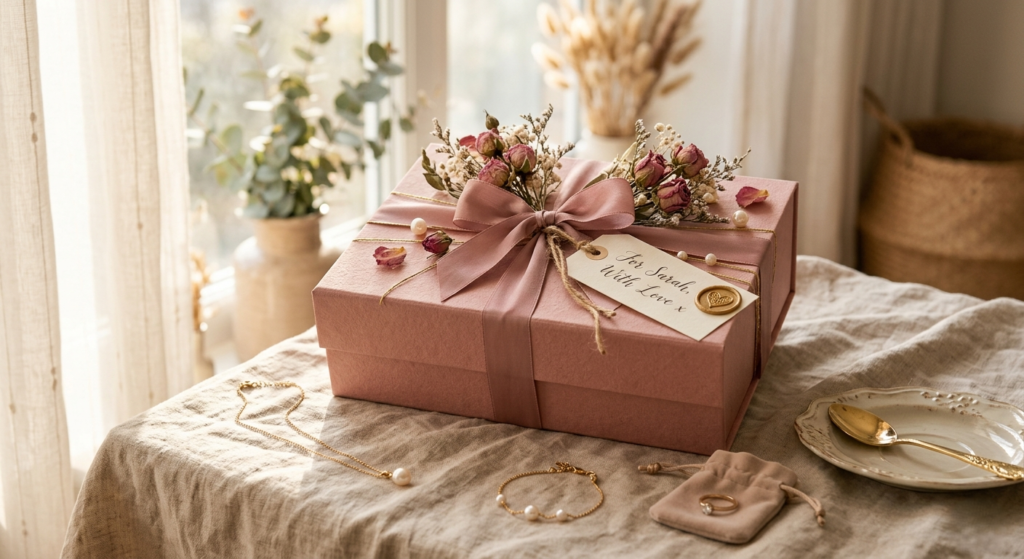
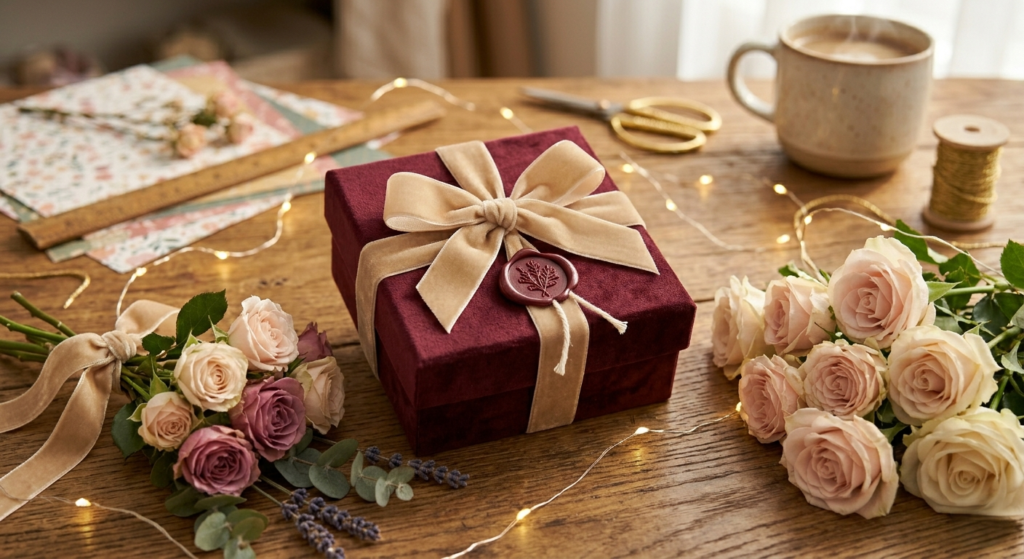
- Classic ribbon: A silk or velvet ribbon tied around the box is timeless. Add a tiny dot of hot glue underneath to stop it sliding. A bow takes 45 seconds and transforms the entire look.
- Washi tape edges: Run a strip of patterned washi tape along the top rim of the box for a clean, colourful accent. Especially effective on plain kraft paper boxes.
- Wax seal: Press a wax seal over the ribbon knot on the lid. This adds a heritage, luxury feel to even the simplest box and photographs beautifully.
- Custom tag: Cut a small rectangle from leftover cardstock, punch a hole in the corner, write your message inside, and tie it through with baker’s twine. More personal than a sticky label.
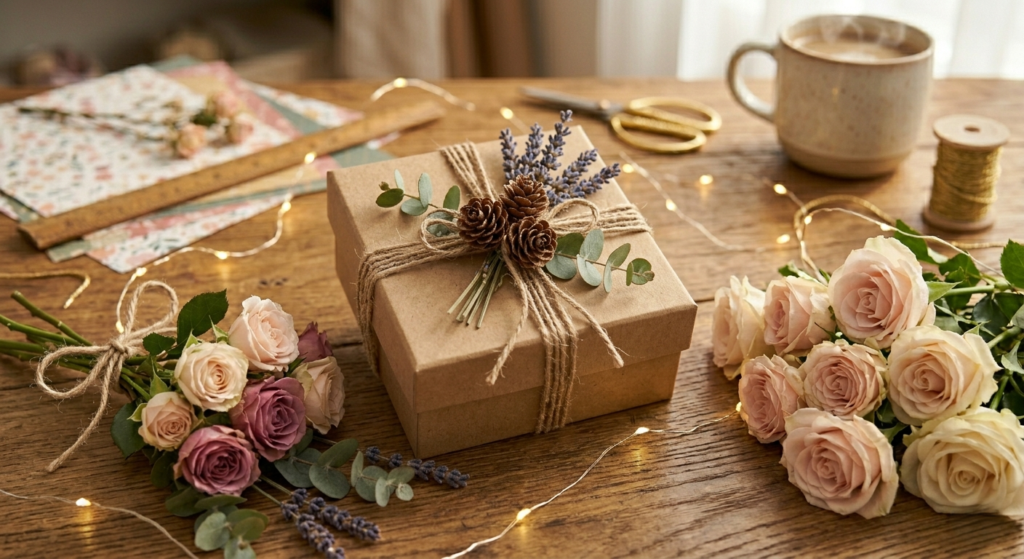
- Nature elements: Tuck a sprig of dried lavender, a small cinnamon stick, or a dried orange slice under the ribbon. Adds texture, scent, and a rustic warmth that wrapping paper can never achieve.
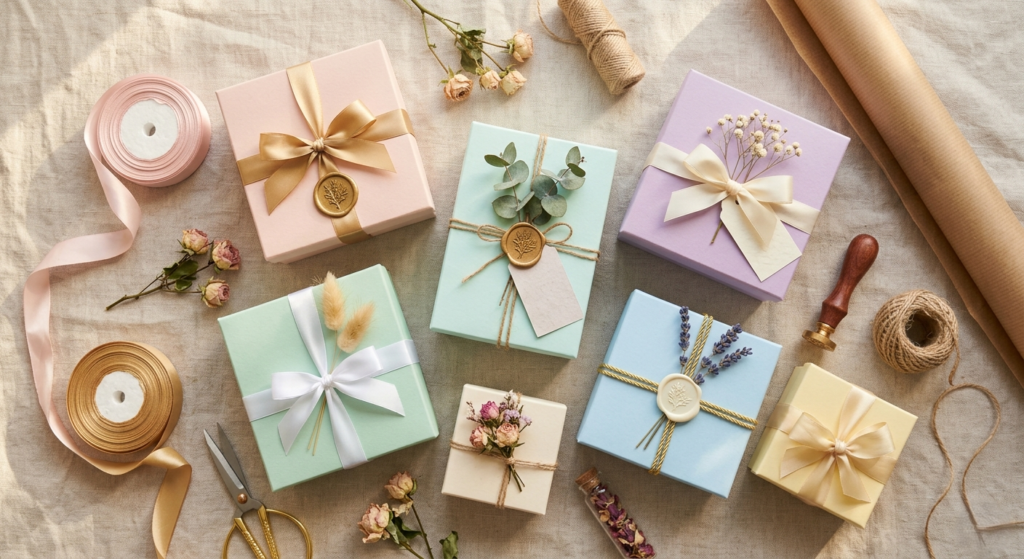
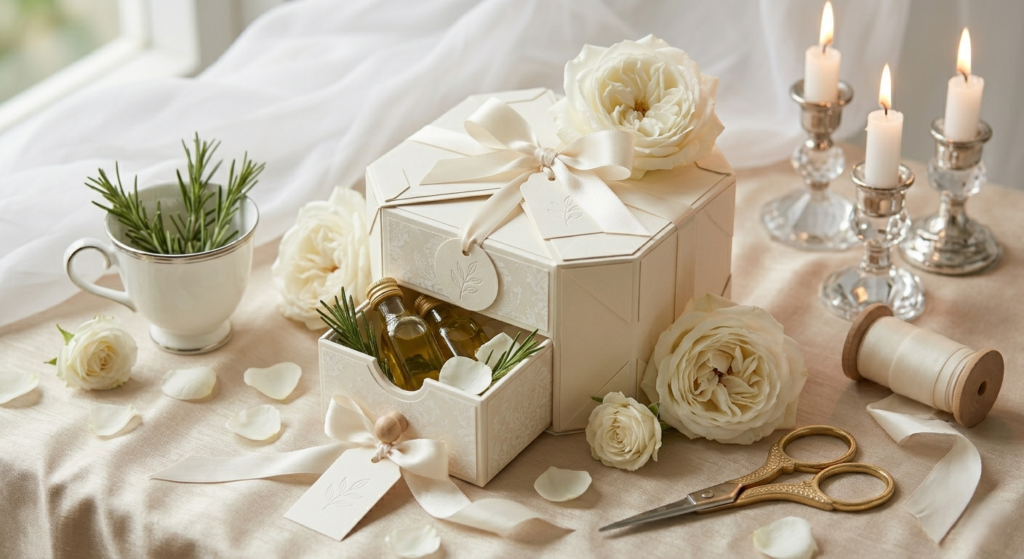
[caption id="attachment_403" align="aligncenter" width="1024"]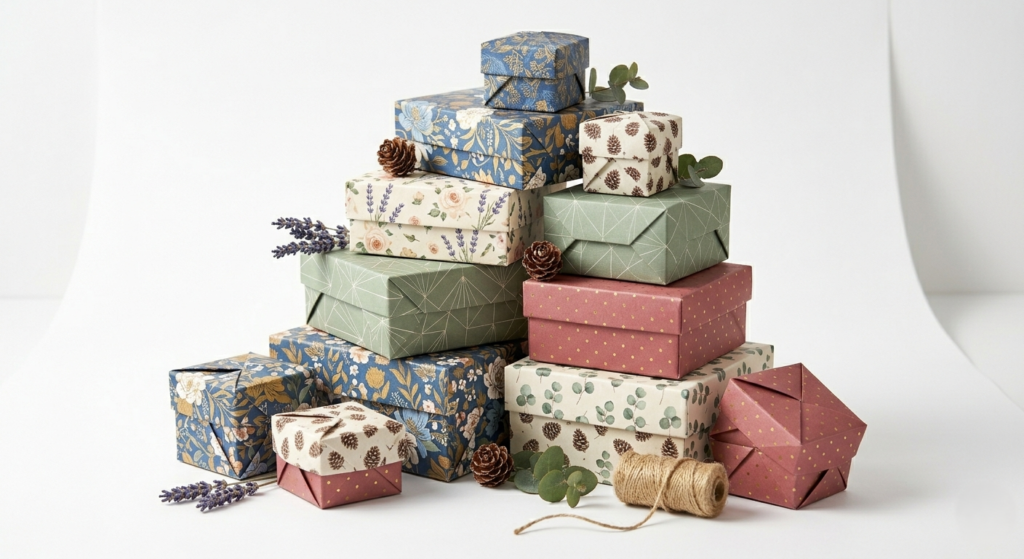 A set of decorated handmade gift boxes — ribbon, wax seal, and dried botanicals added after assembly.
For inspiration on matching paper textures and ribbons to your gift, see our guide to premium gift packaging techniques. And if you need something to put inside the box, our party gift ideas guide has you covered.
For the history and deeper techniques behind origami paper folding, visit the Wikipedia page on origami.
Frequently Asked Questions
How do I make my own small gift boxes?
To make small gift boxes, start with a 6×6 inch square of cardstock. Fold diagonally both ways, then fold in half horizontally and vertically to create your full crease grid. Fold all four corners into the center (blintz fold), then crease the top, bottom, left, and right edges to the center line. Unfold two opposite sides, raise the remaining walls to 90 degrees, and tuck the pointed flaps over the edge and flat into the base floor to lock the structure. The finished box will be approximately 2×2×1 inches — ideal for rings, earrings, or a single chocolate.
How do you make a gift box very easily without any tools?
The absolute easiest no-tool method is the origami square-fold technique: one square sheet of cardstock, no scissors, no glue, no template. Fold your square into a crease grid, fold all four corners to the center, crease the edges inward, raise two opposite walls to 90 degrees, and tuck the remaining pointed flaps over and down to lock the box. The whole process takes under five minutes. For best results use 65 lb scrapbook paper — it folds cleanly and holds without glue.
How do you make a paper box without glue, step by step?
Create your full crease grid (diagonal X and horizontal/vertical + folds). Fold all four corners to the center. Fold all four edges to the center line and unfold. Lift two opposite walls to 90 degrees using those creases. Take the remaining two flat sections, lift along the diagonal crease lines, guide the corners inward against the standing walls, and fold the pointed tip flat down into the base of the box. The four corner tips lock together in the center of the floor — no glue needed. Scrapbook paper (65 lb) holds this lock best.
What size paper do I need to make a gift box?
The finished box is roughly one-third the width of your starting square. A 6×6 inch sheet makes a 2×2 inch box (rings, earrings). A 12×12 inch sheet makes a 4×4 inch box (soaps, small mugs, folded socks). A 15×15 inch sheet makes a 5×5 inch box (rolled clothing, small electronics). Always cut your lid square 1/4 inch larger than the base square so the lid slides on cleanly.
What is the best paper for a DIY gift box?
65 lb scrapbook paper is the best all-around choice. It is thick enough to hold its shape and support light gifts, but flexible enough that you can fold crisp, clean corners without a bone folder. Standard printer paper (20 lb) is too flimsy for anything but practice. Heavy cardstock (110 lb+) produces a very sturdy, professional box but requires a bone folder and produces slightly bulkier corners.
How do you make a lid for a paper gift box?
Follow the same 15 folding steps as the base. The only difference: in steps 7, 8, and 10, leave a small gap of about 1/8 inch (2–3 mm) when folding the edges toward the center — do not fold them all the way to the crease line. This makes the lid’s interior square fractionally wider so it slides neatly over the base. Alternatively, start with a lid square that is 1/4 inch larger than your base square and follow all steps identically.
Now that you know how to make a DIY gift box, you have a skill that will serve every birthday, holiday, and last-minute gifting moment for the rest of your life. Practice the folds once or twice on printer paper, then switch to your good scrapbook paper for the real thing. The more you fold, the faster and neater each box becomes.
Happy crafting!