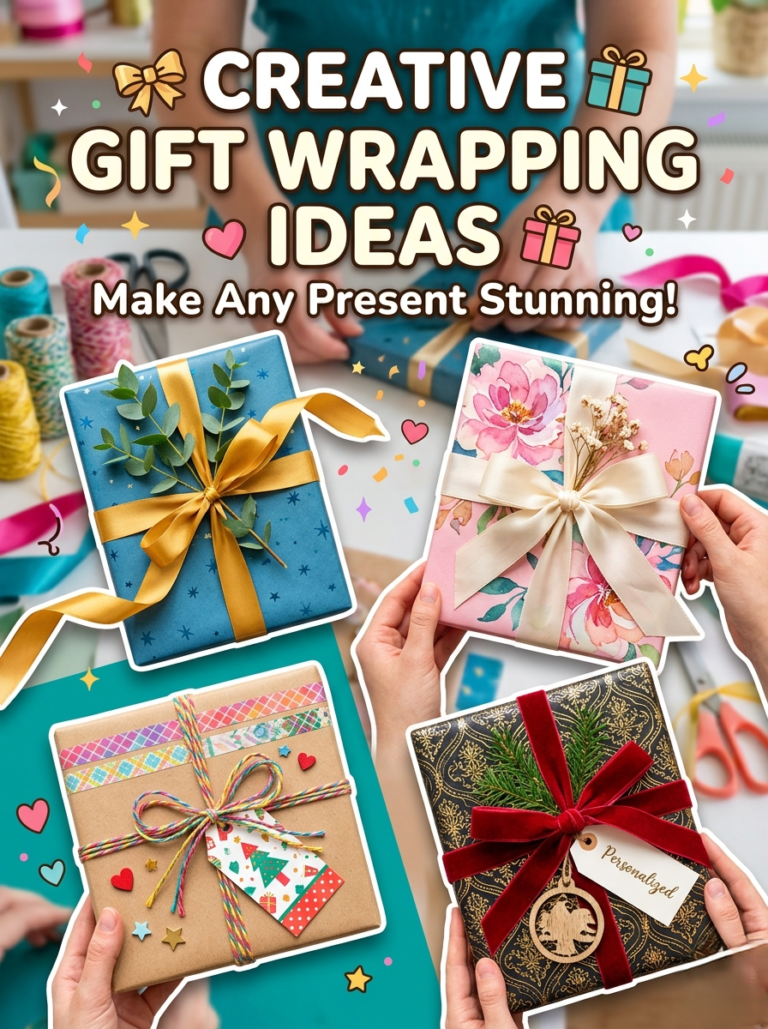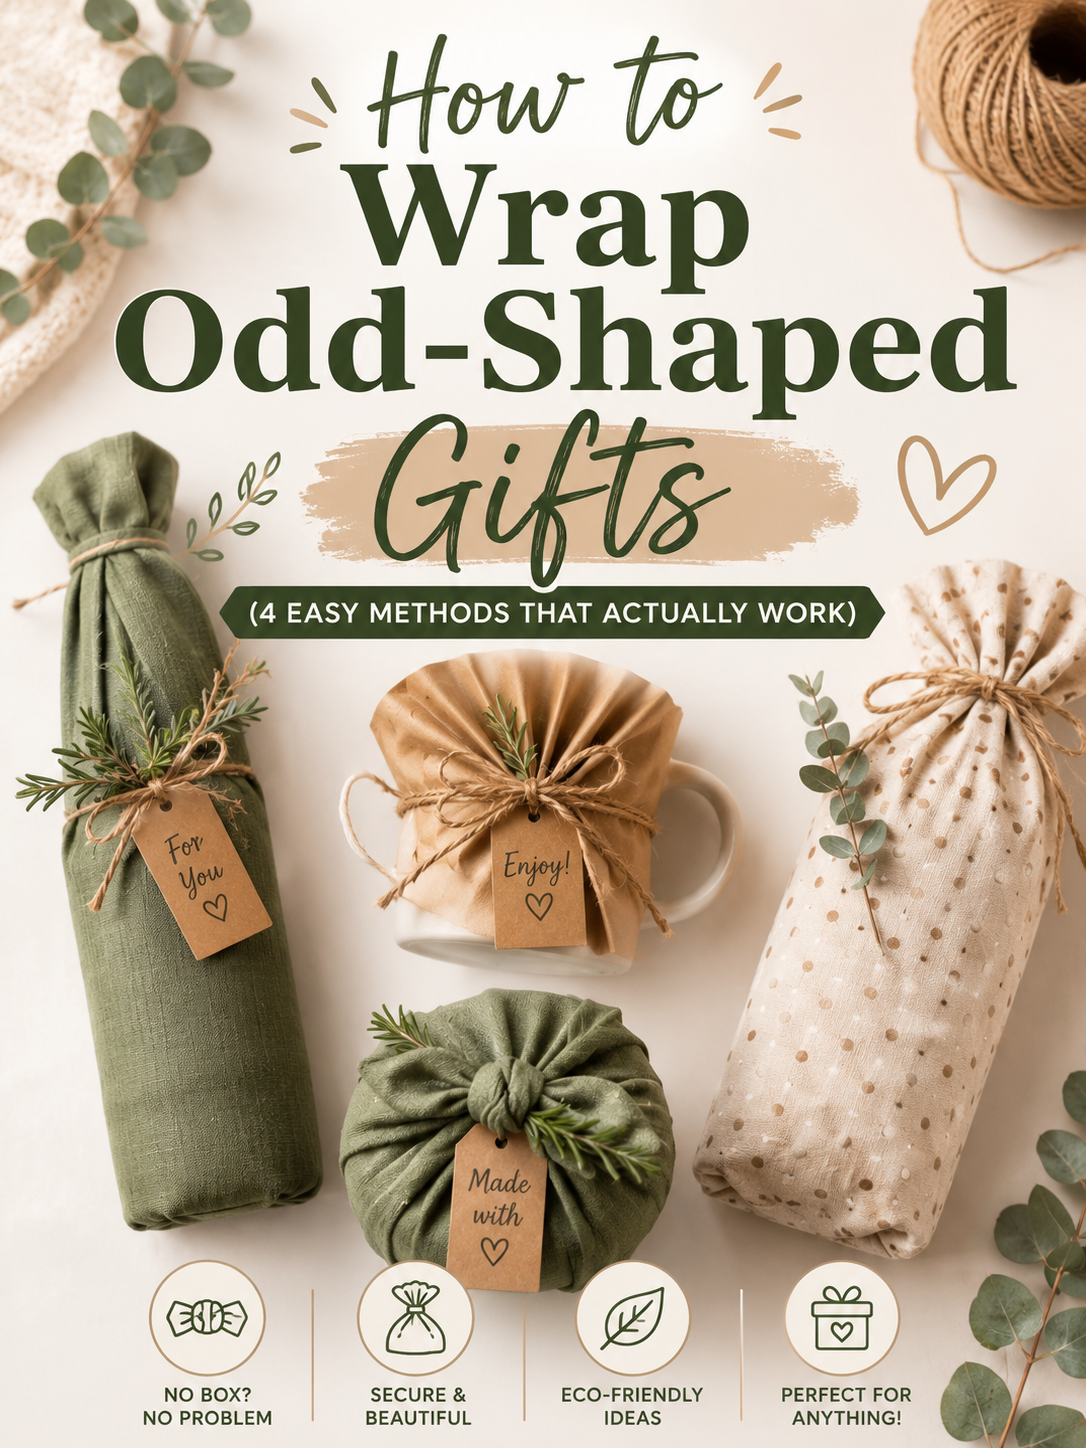

You have the perfect gift. You also have a roll of wrapping paper, a pair of scissors, and absolutely no idea how to make it work together. Odd shaped gifts — a bicycle helmet, a stuffed animal, a watering can, a gaming controller — have a way of defeating even experienced wrappers. The corners do not line up, the paper bunches in strange places, and the whole thing ends up looking like it was wrapped in a hurry. Which, let’s be honest, it probably was.
The good news is that odd shapes are much easier to handle once you know which method to use for each situation. There is no single technique that works for everything, but there are four reliable approaches that between them cover almost any gift you could possibly need to wrap. This guide walks through all four, with honest notes on which shapes each one suits best.
If the gift is going into a box first, our guide on how to make a DIY gift box without a template is a good place to start — a well-fitted box solves most wrapping problems before they begin.
Table of Contents
Why Odd Shapes Are Hard to Wrap
Standard wrapping paper is designed to fold around flat-sided rectangular boxes. When you have a rounded, tapered, or irregular surface, the paper has nowhere to go — it either tears, wrinkles into thick folds, or refuses to stay flat. The more curves and angles a gift has, the more the paper fights back.
The mistake most people make is trying to force a flat-paper technique onto a shape that simply does not suit it. A stuffed animal is not a box. A bottle is not a box. A bicycle is definitely not a box. Each of these shapes calls for a different approach, and once you match the method to the shape, the whole process becomes much faster and the result looks considerably more polished.
4 Methods for Wrapping Any Shape
Method 1: Tissue Paper and a Bag (Best for Small, Irregular Shapes)
This is the simplest and most forgiving method for anything small and bumpy — stuffed animals, toys with protruding parts, awkward electronics accessories, or anything soft and squeezable. You do not need to wrap anything in the traditional sense. Instead, you place the gift in a gift bag, surround it with crinkled tissue paper, and fold the tissue over the top.
The tissue paper does two things: it hides the gift completely so it cannot be seen or felt through the bag, and it creates a full, generous look that makes even a small gift feel substantial. Use two or three sheets in complementary colours and let them stick out unevenly above the top of the bag for the best effect.
Works best for: stuffed animals, action figures, oddly shaped toys, small sports equipment, irregular accessories
Does not suit: very large gifts, anything fragile that needs structure
Method 2: The Gather Wrap — Cracker Style (Best for Cylinders and Bottles)
For cylindrical gifts — wine bottles, rolled posters, thermos flasks, candles, sports water bottles — the gather wrap is the cleanest approach. Instead of trying to fold the paper flat against the curved surface, you let it gather naturally at both ends and tie it off like a Christmas cracker.
Here is how to do it:
- Cut a piece of wrapping paper roughly two and a half times the length of the item and wide enough to roll around it with a few centimetres of overlap.
- Roll the paper around the cylinder and secure the seam with tape along the length of the gift.
- Gather the paper at one end, twist it closed, and tie it with ribbon or twine. It should look like the end of a wrapped sweet.
- Repeat on the other end. Fluff the gathered paper outward slightly for a more generous look.
For wine bottles specifically, you can also skip the gather at the neck end entirely and leave the paper open at the top, curling a length of ribbon around a pencil to add decoration. This looks intentional rather than unfinished.
Works best for: bottles, cylinders, rolled items, candles, thermos flasks, wine
Does not suit: very wide cylinders (like a plant pot), items with irregular bumps along the surface
Method 3: The Fabric Wrap — Furoshiki Style (Best for Large and Very Irregular Shapes)
When a gift is genuinely awkward — oddly proportioned, large, or shaped in a way that defeats flat paper entirely — a square piece of fabric is your best option. The furoshiki method, which comes from a traditional Japanese wrapping technique, uses folds and knots rather than tape, which means it adapts to whatever shape is underneath.
For a basic two-knot wrap that works on most shapes:
- Lay a square piece of fabric face-down on a flat surface. Place the gift in the centre.
- Bring the corner closest to you up and over the gift, tucking it slightly underneath on the far side.
- Bring the far corner toward you in the same way, overlapping the first.
- Bring the two remaining corners up and tie them in a double knot on top of the gift. Adjust the folds so they sit evenly.
For large odd-shaped gifts — a bicycle helmet, a large toy, a bulky kitchen appliance — this method works far better than paper. The fabric stretches slightly, handles curves naturally, and the knot on top acts as a built-in handle.
Works best for: large irregular shapes, helmets, large toys, bulky items, gifts for eco-conscious recipients
Does not suit: very heavy gifts where a knot would not hold securely
Method 4: Box It First (Best When You Want a Clean Finish)
Sometimes the simplest solution is to put the gift in a box before wrapping it. A box gives you four flat sides and a lid, which means you can use any standard wrapping technique and get a clean, tidy result regardless of what is inside.
You have a few options here. You can buy a box in the right size from a packaging supplier or craft shop. You can reuse a box that you already have at home — a shoe box, a cereal box with the seams re-taped, or a delivery box. Or you can make your own from a sheet of card.
If you are making your own, the easiest approach is to fold a piece of thick card or a flattened cereal box into a tray shape: score the card along fold lines, cut the corners, and tape the sides up. You do not need a template for simple rectangular boxes — our guide on how to make a DIY gift box covers this in detail with step-by-step instructions.
Once the gift is boxed, wrap it exactly as you would any other rectangular package. For odd-shaped items that you cannot compress into a standard box, adding shredded tissue paper or crinkled newspaper inside the box keeps the gift from shifting around.
Works best for: fragile items, gifts with sharp edges or awkward protrusions, when you want a very clean and traditional presentation
Does not suit: very large items where finding a suitable box is impractical
Shape-by-Shape Quick Guide
Not sure which method to use? Here is a quick reference based on the most common problem shapes:
| Gift Type | Recommended Method | Quick Tip |
|---|---|---|
| Wine / bottle | Gather wrap (cracker style) | Leave the neck open and curl ribbon around it |
| Stuffed animal / plush | Tissue paper and bag | Use an oversized bag so the toy fits comfortably |
| Helmet / sports gear | Fabric wrap (furoshiki) | A large pillowcase works if you lack a fabric square |
| Large toy (boxed) | Box it first, then standard wrap | Double-tape all edges — large boxes shift during transit |
| Large odd-shaped toy (unboxed) | Fabric wrap or oversized bag | Pair with a large gift tag explaining the method |
| Plant / pot | Tissue paper in a large bag or cellophane cone | Gather cellophane at the top and tie with raffia |
| Rolled poster / artwork | Gather wrap | Use kraft paper and seal the seam along the length |
| Gaming controller / headset | Tissue paper and bag, or box it first | A shoe box is often the perfect size |
| Books (multiple, stacked) | Standard wrap with diagonal fold at corners | Wrap as a bundle rather than individually |
| Bicycle / very large items | Partial wrap with a large bow, or hide in a bag | Wrap the most visible part and attach a large gift tag |
A Few More Practical Notes
- Use more paper than you think you need: The biggest mistake with odd shapes is cutting paper too small and running out of coverage. Start with a sheet that looks excessively large. You can always fold the excess down neatly, but you cannot add paper back once it is cut.
- Double-sided tape changes everything: Visible tape on a finished wrap is the fastest way to make it look rushed. Double-sided tape keeps the surface clean and the folds sharp. It costs very little and is available in most supermarkets.
- A good ribbon hides a lot: If the wrapping did not go perfectly — a corner is a bit thick, a fold is uneven — a well-placed ribbon tied around the middle draws the eye away from the problem areas. This is not cheating. This is finishing.
- Practice on a smaller version first: If you are nervous about wrapping something irreplaceable, practice the technique on a similar-shaped object first. A shampoo bottle is a good stand-in for a wine bottle. A tennis ball works for smaller rounded gifts.
For more ideas on how packaging can become part of the gift itself, our guide on eco-friendly gift wrapping ideas has a number of approaches that work particularly well with unusual shapes.
Frequently Asked Questions (FAQ)
How do you wrap an oddly shaped gift?
The key is to match the method to the shape rather than forcing all shapes into the same technique. For small irregular shapes, tissue paper in a gift bag is the easiest option. For cylinders like bottles, a gather wrap (cracker style) works well. For large or very irregular shapes, a fabric furoshiki wrap adapts to almost anything. For items where you want a clean finish, placing the gift in a box first and then wrapping the box is the most reliable approach.
How do you wrap a gift without a box?
Several methods work without a box. Tissue paper in a gift bag is the simplest — pile the tissue generously around the gift and fold it over the top. The gather wrap rolls paper around the gift and ties the ends, which works well for cylindrical shapes. The fabric furoshiki method uses a square of cloth instead of paper and adapts to almost any shape through folding and knotting. All three produce a tidy result without needing any box at all.
How do you wrap large odd-shaped gifts?
For large and genuinely awkward shapes, a fabric wrap is usually the most practical solution. A large square of fabric — or a pillowcase — can be knotted around most large items in a few minutes and looks intentional. Alternatively, for items where presentation is less critical (like a bicycle), you can wrap only the most visible part of the gift with paper and attach a prominent bow and gift tag to the rest. A decorative bag large enough to conceal the item is another option for some shapes.
How do you wrap odd-shaped toys?
For smaller odd-shaped toys — action figures, stuffed animals, toys with a lot of protruding parts — a gift bag with crinkled tissue paper is usually the easiest and neatest option. For larger toys that are not already in a box, a fabric wrap or an oversized gift bag works well. If the toy came in a box originally, that box (even if it is plain cardboard) is usually the right shape to wrap. You can cover the plain box with kraft paper or patterned paper, which is easier than wrapping the toy itself.